Agency Quick Start
This guide walks you from a new Quratic account to a fully configured first client project.
Prerequisites
Section titled “Prerequisites”- A Quratic account on an Agency plan. Sign up at app.quratic.com/signup or upgrade an existing account at Settings → Organization → Billing.
-
Create your organization
When you sign up, you are prompted to name your organization (use your agency name) and create a first project. Enter:
- Brand name — the first client brand you want to track
- Brand domain — the client’s website domain (e.g.
clientbrand.com)
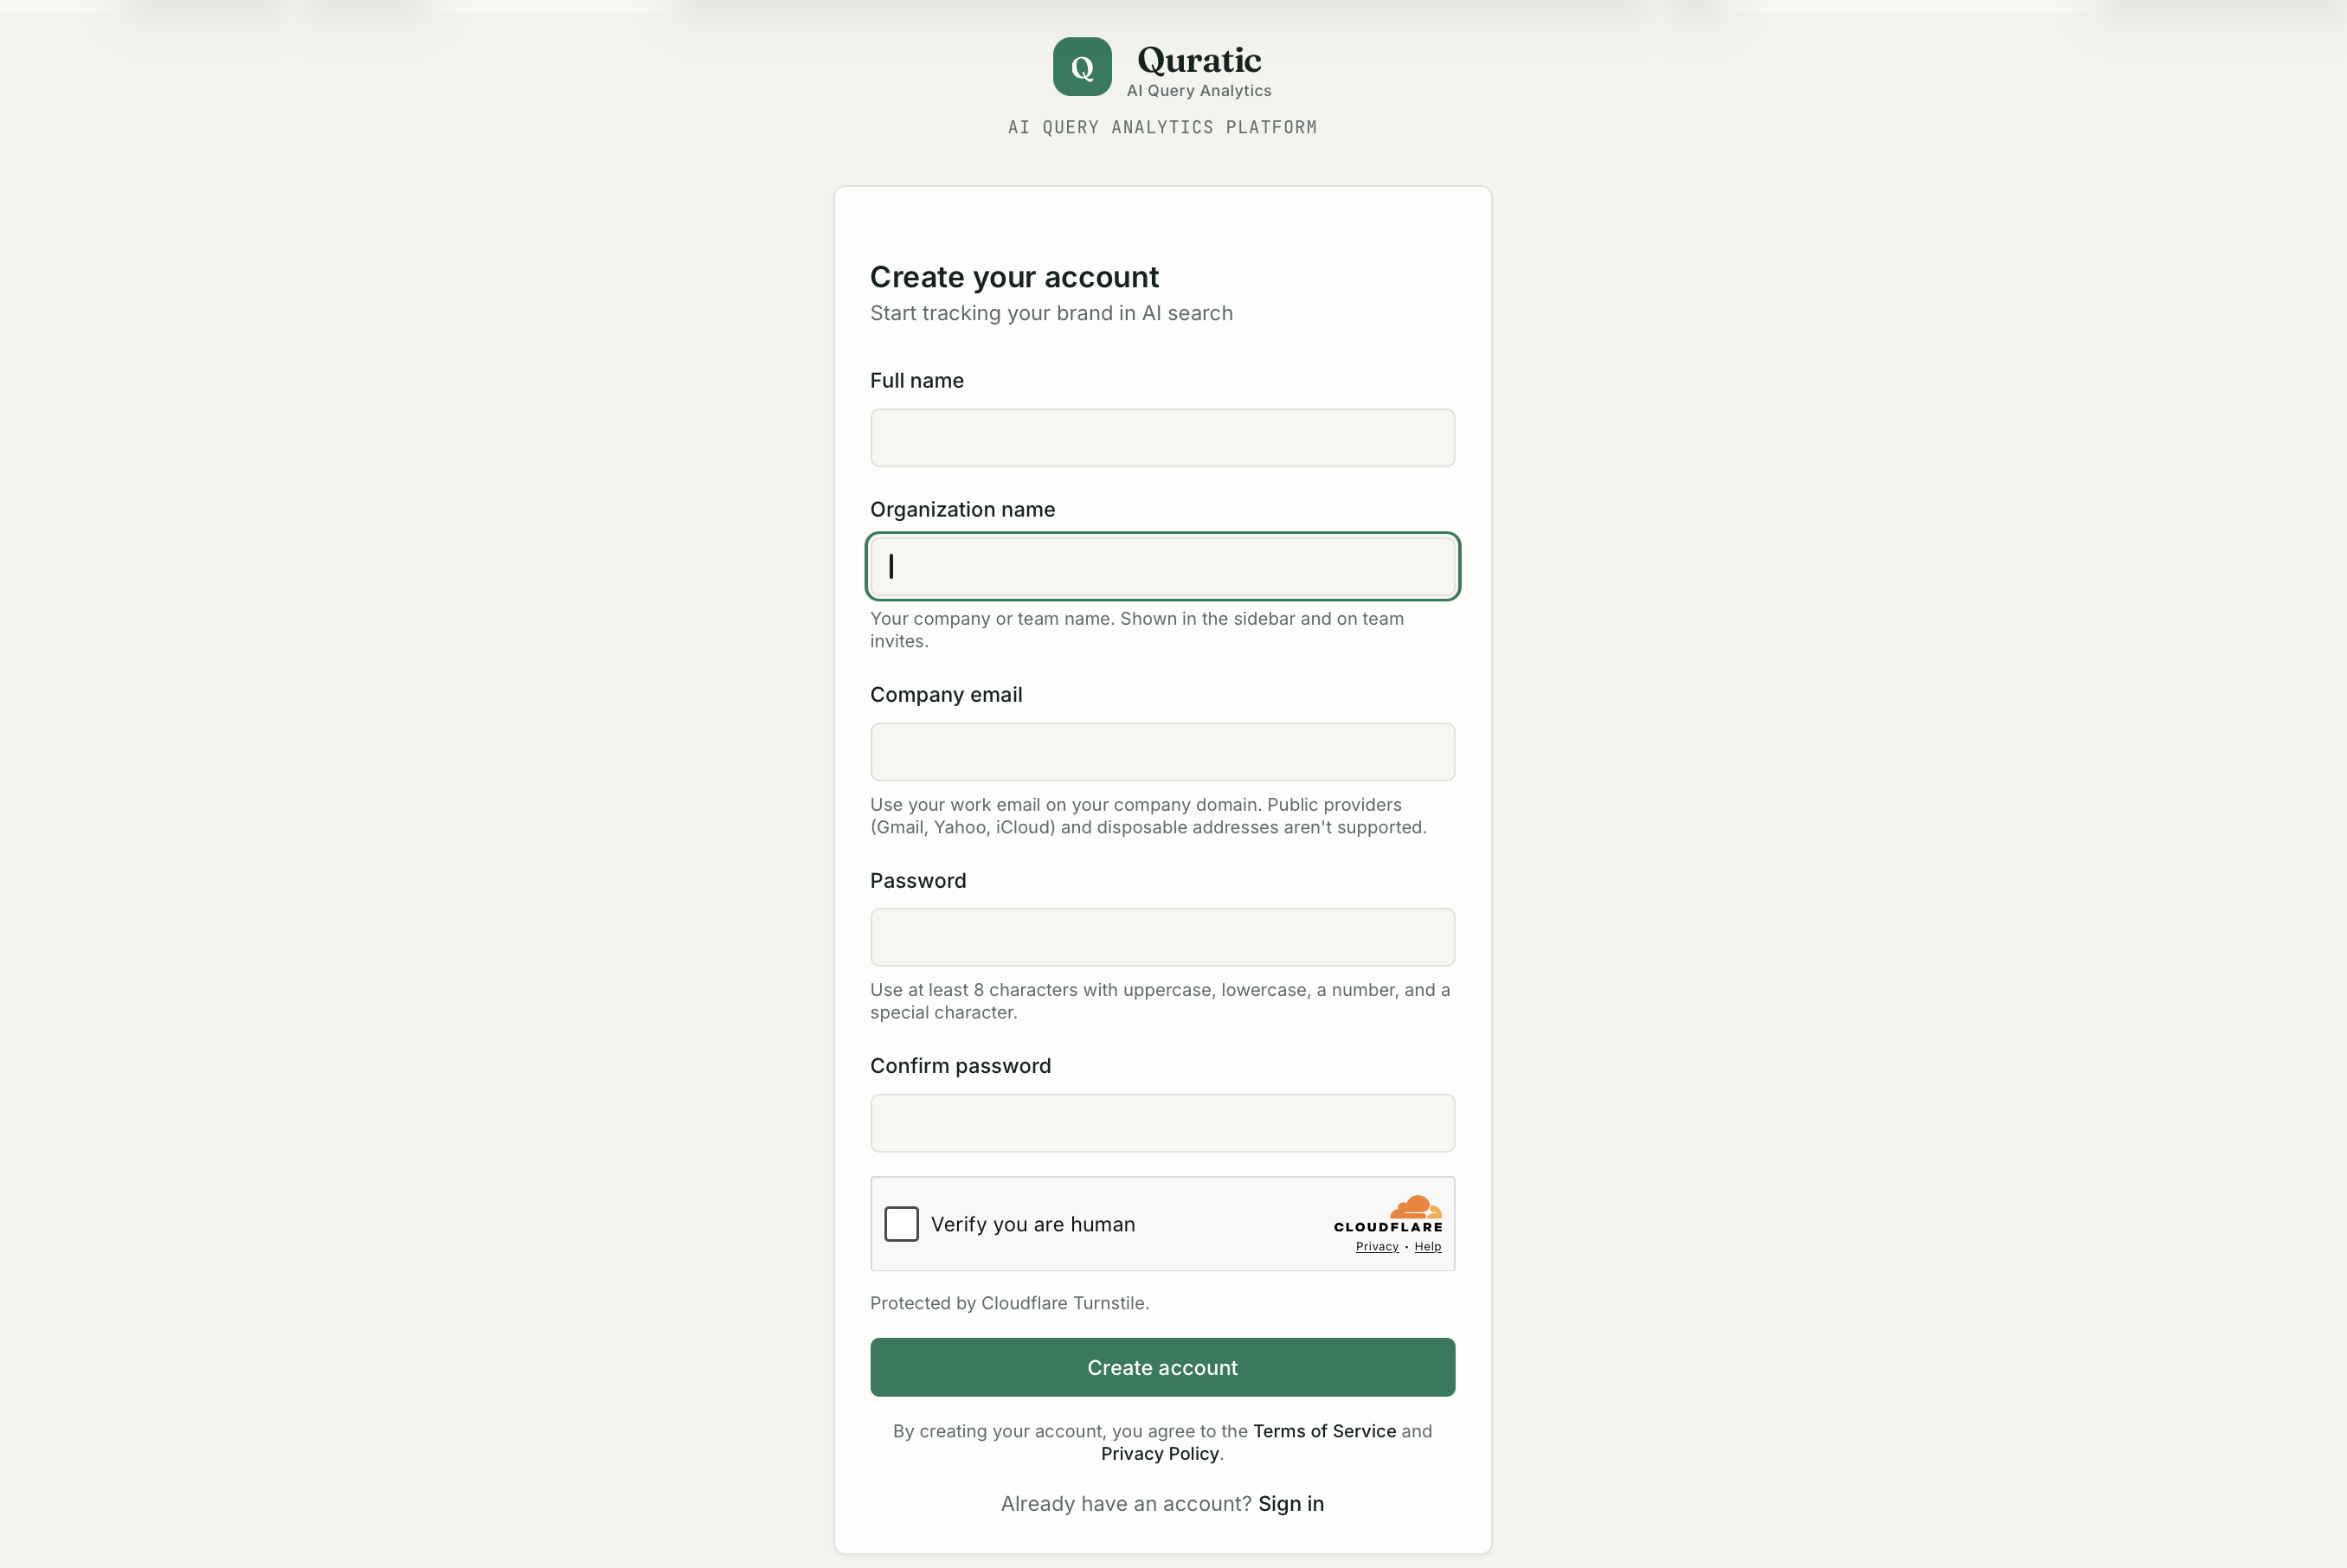
Signup form showing organization name field (agency name) and first project brand name and domain -
Configure the first client project
Go to Project settings for this project and complete:
- Industry — helps with prompt suggestions
- Location — the client’s primary market
- Active AI models — enable the platforms relevant to the client’s audience
- Alert threshold — set a visibility drop alert if you want proactive monitoring
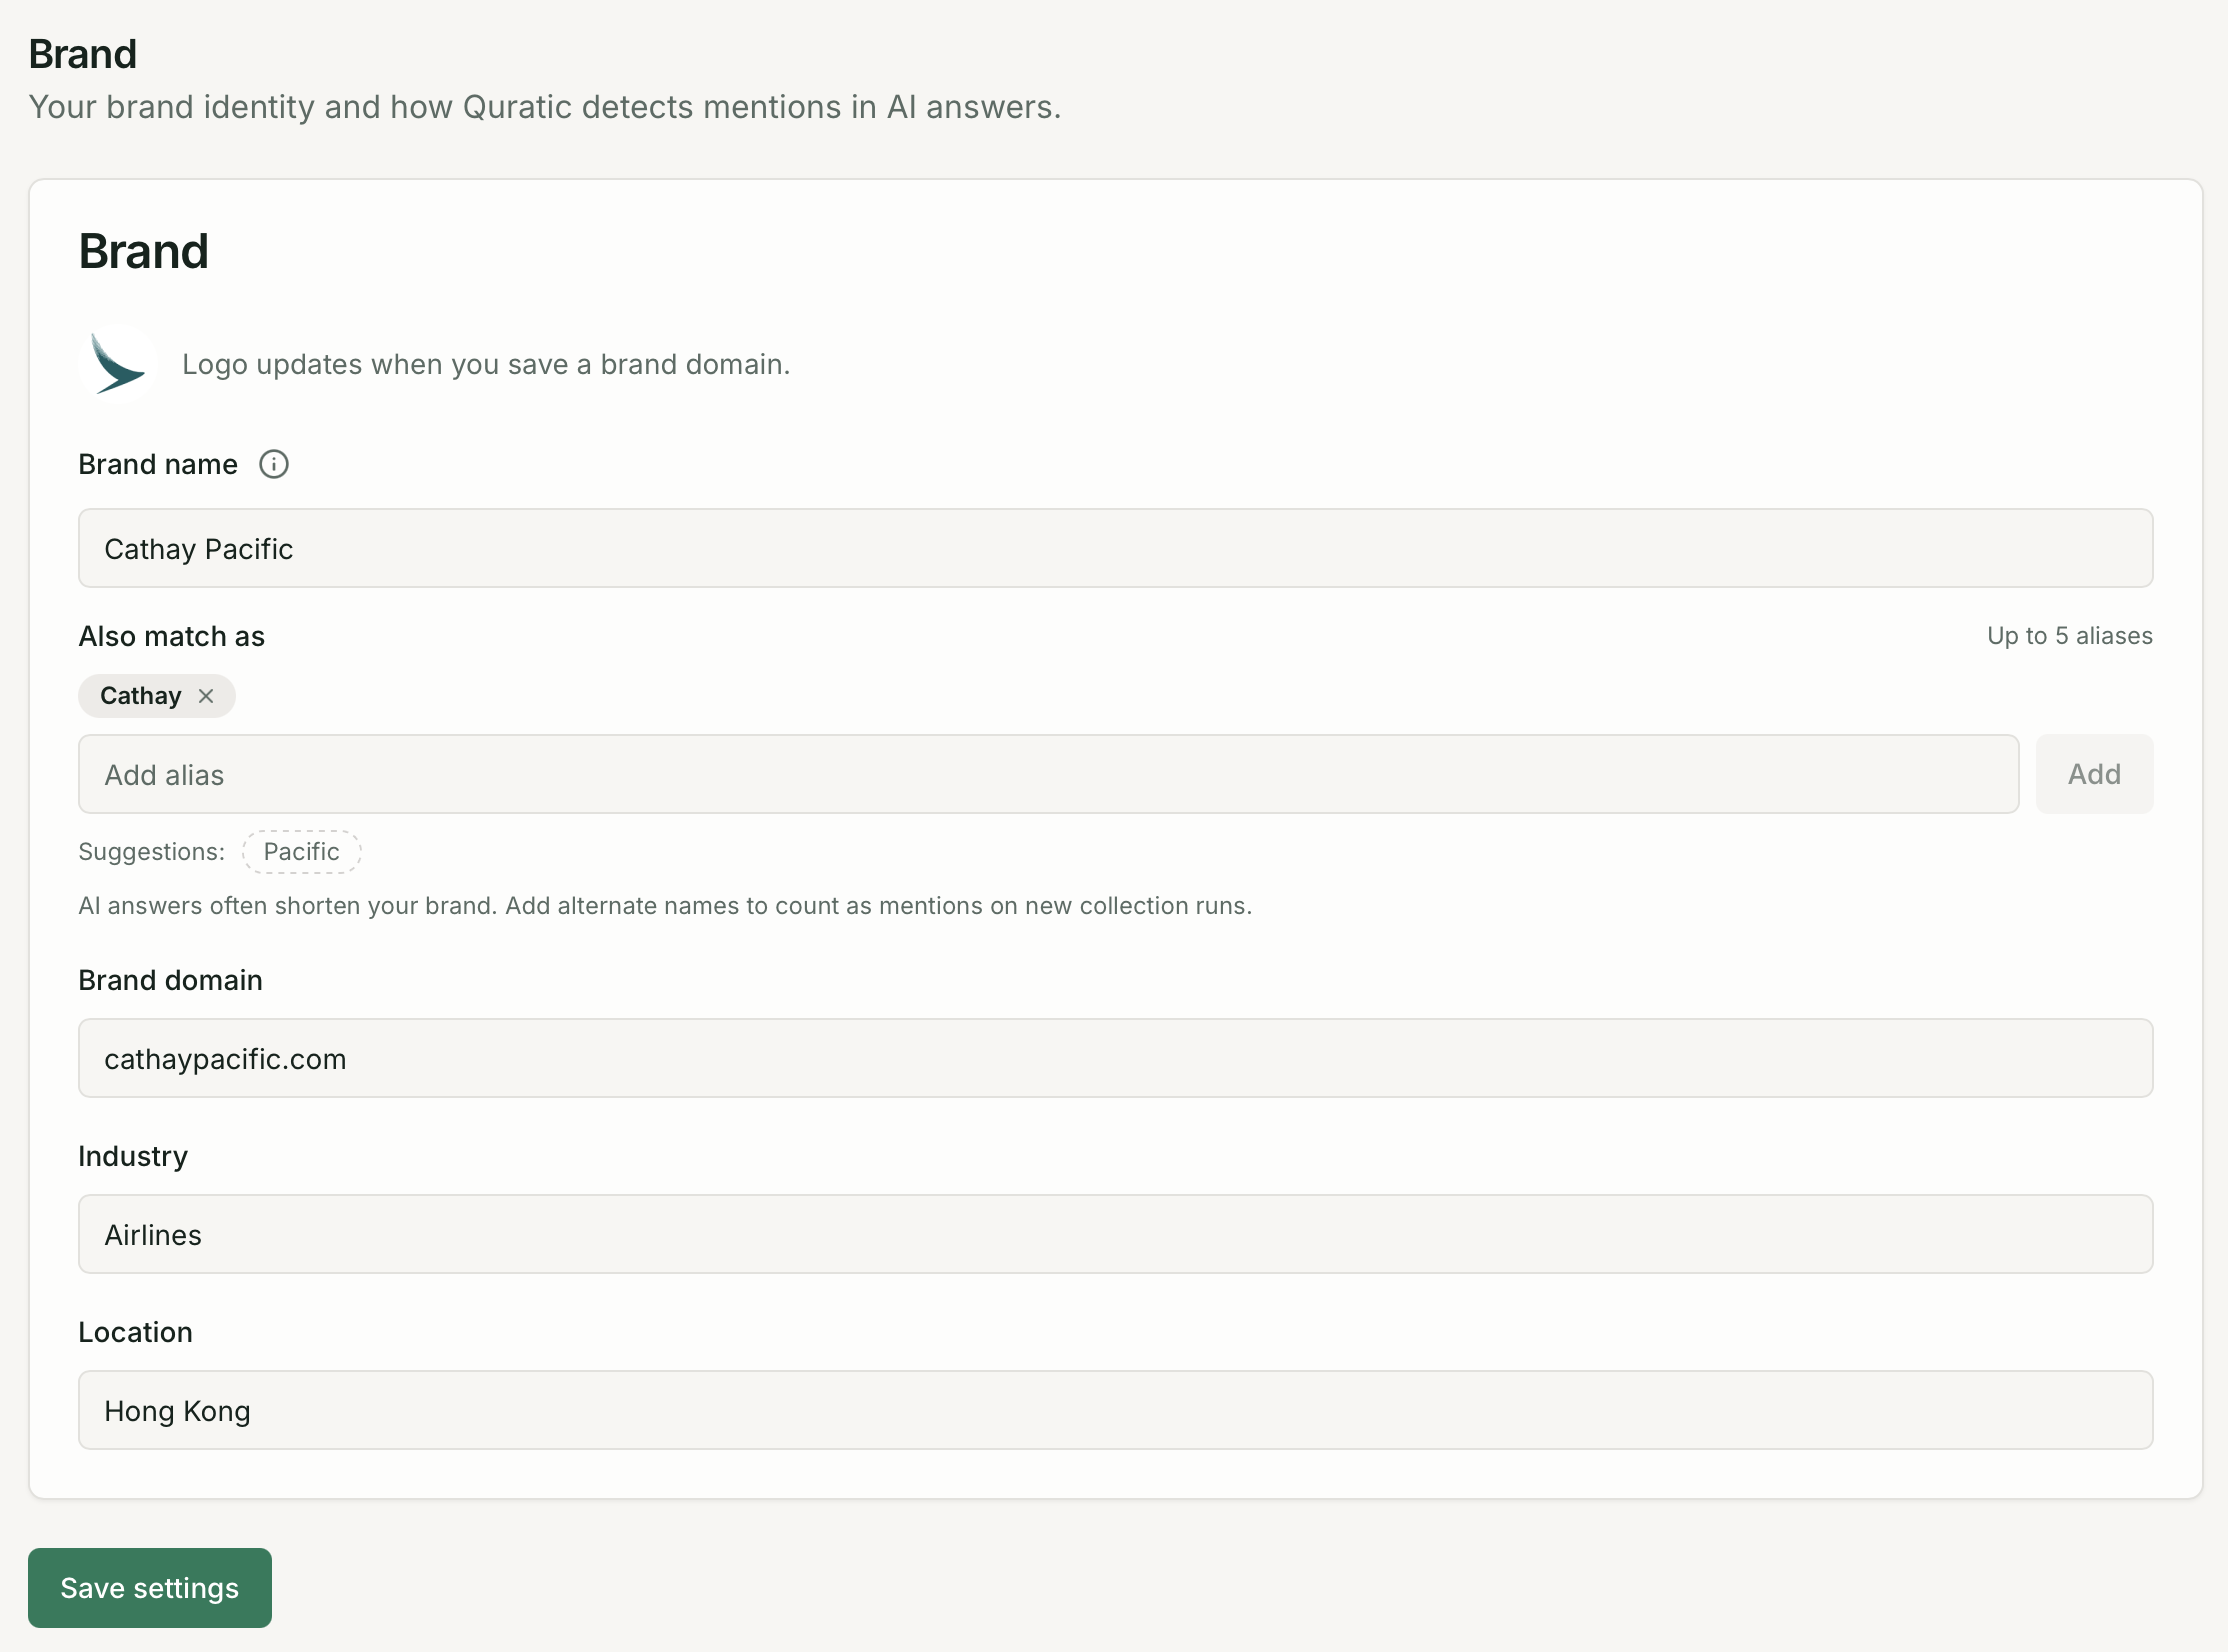
Project settings page showing brand details, AI model toggles, and alert threshold section -
Add prompts for the client
Go to Prompts → Add prompt. Write the questions the client’s potential customers ask AI platforms. Assign each prompt to the correct market.
For a fast start, use Suggest prompts — enter a category and market and Quratic generates 5 AI-written prompt suggestions for you to review.
-
Add the client’s competitors
Go to Competitors and add the brands the client benchmarks against. Agency plans allow 10–30 competitors per project.
-
Invite your team
Go to Settings → Organization → Members and invite the account manager or strategist who will work on this client. After inviting them, assign Read access (and Create/Update if they manage prompts) to this client’s project only.
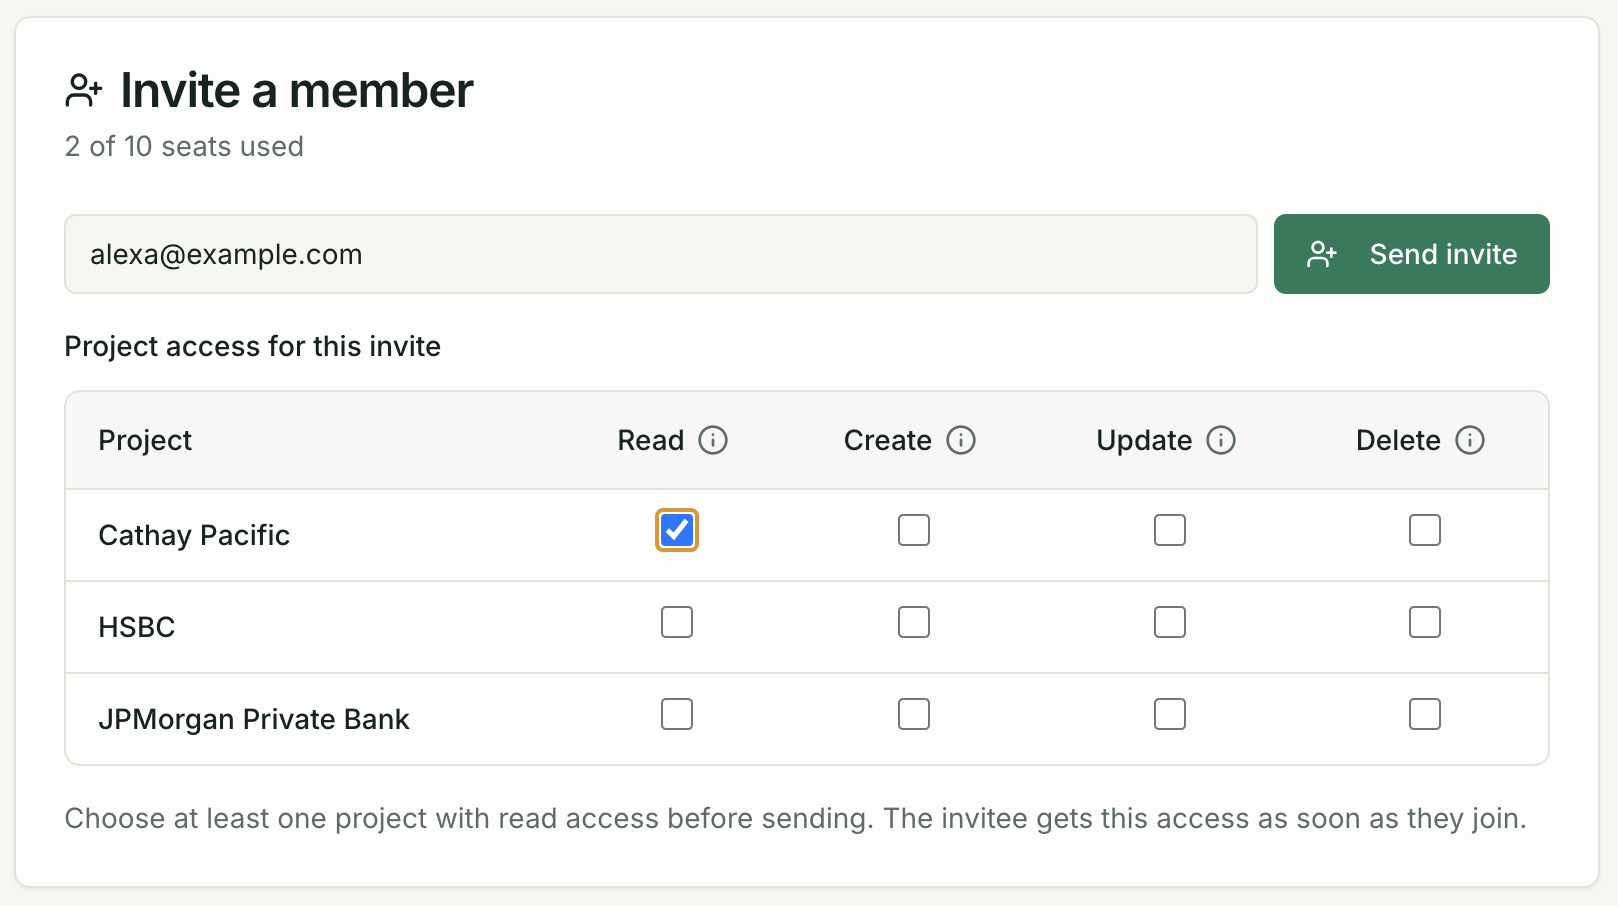
Members page showing invite form and a team member row with per-project permissions matrix -
Add more client projects
Repeat from step 2 for each client. Go to Settings → Organization and click New project to add the next client brand.
What’s next
Section titled “What’s next”- Onboard a Client — a detailed walkthrough for each new client project
- Manage Multiple Clients — switching between clients and reading per-client dashboards
- Team & Project Permissions — assigning team members to the right clients