Onboard a Client
Each time you take on a new client, you create a new project in Quratic for their brand. This guide walks through the complete onboarding process.
Before you start
Section titled “Before you start”Gather from your client:
- Their primary brand name (exactly as it should appear in AI responses — ask the client to check a few AI platforms themselves)
- Their website domain (e.g.
clientbrand.com) - Their target markets (which regions their customers are in)
- Their main competitors (3–10 brand names)
- The languages their customers use when searching
- Their key buying-stage queries (questions customers ask when evaluating their category)
-
Create the project
Go to Settings → Organization and click New project.
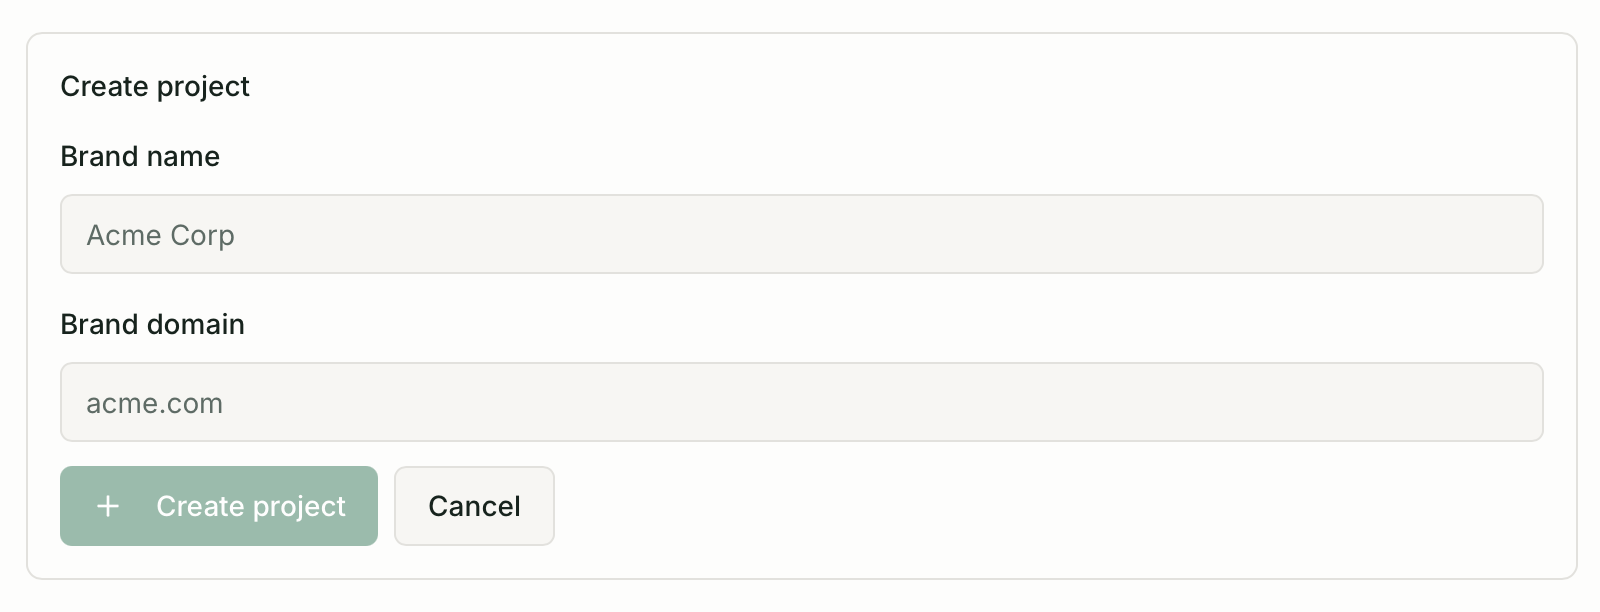
Organization settings page showing Projects list with New project button Fill in:
- Brand name — the exact string the AI should detect
- Brand domain — without
https:// - Industry — used for prompt suggestions
- Location — primary market
-
Configure AI models
In Project settings → Active AI models, enable the platforms relevant to the client’s audience. For most Southeast Asian clients, start with: ChatGPT, Perplexity, Gemini, Google AI Mode. Add Microsoft Copilot for Japan or enterprise-focused clients.
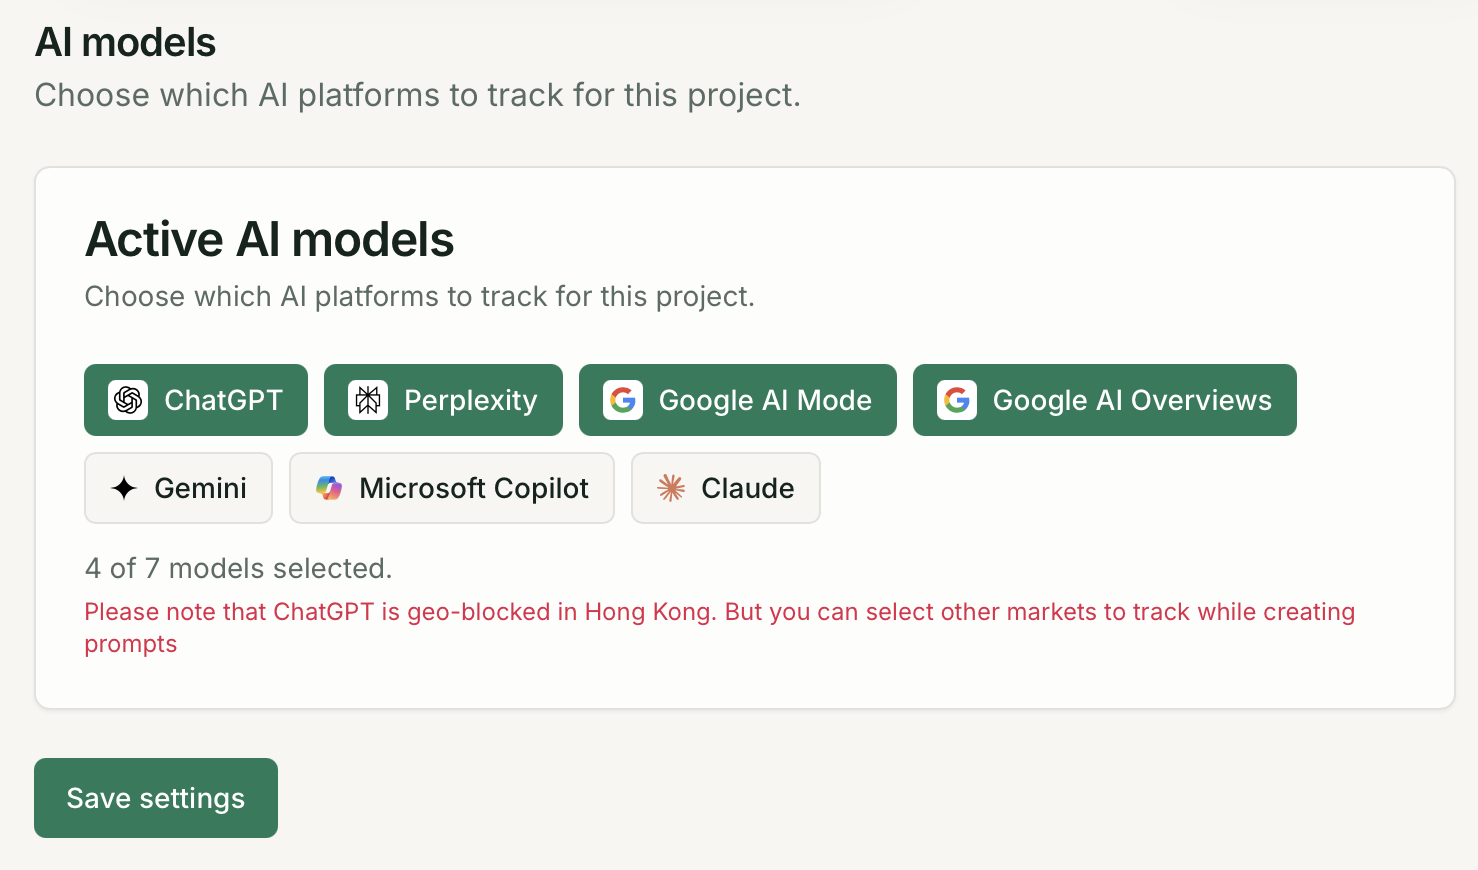
Active AI models toggle section in Project settings with model logos and on/off toggles -
Write initial prompts
Go to Prompts → Add prompt. Aim for 5–15 prompts across these categories:
Category Example Awareness ”What tools help marketing teams track AI visibility?” Category comparison ”Best [client’s product category] in Singapore” Problem-led ”How do I improve my brand’s AI search presence?” Brand-direct ”[Client brand name] reviews” Competitor comparison ”[Client brand] vs [top competitor]” For each market the client targets, duplicate prompts and adjust the language for local users.
Use Suggest prompts to get AI-generated ideas based on the client’s category and market.
-
Add competitors
Go to Competitors → Add competitor and add each brand the client wants to benchmark against. Use the names AI platforms actually use — verify in a live AI conversation if unsure.
-
Assign team access
Go to Settings → Organization → Members. For each team member who will work on this client:
- Expand their row
- Enable Read for view-only access, or Create/Update for prompt/competitor management
- Click Save project access
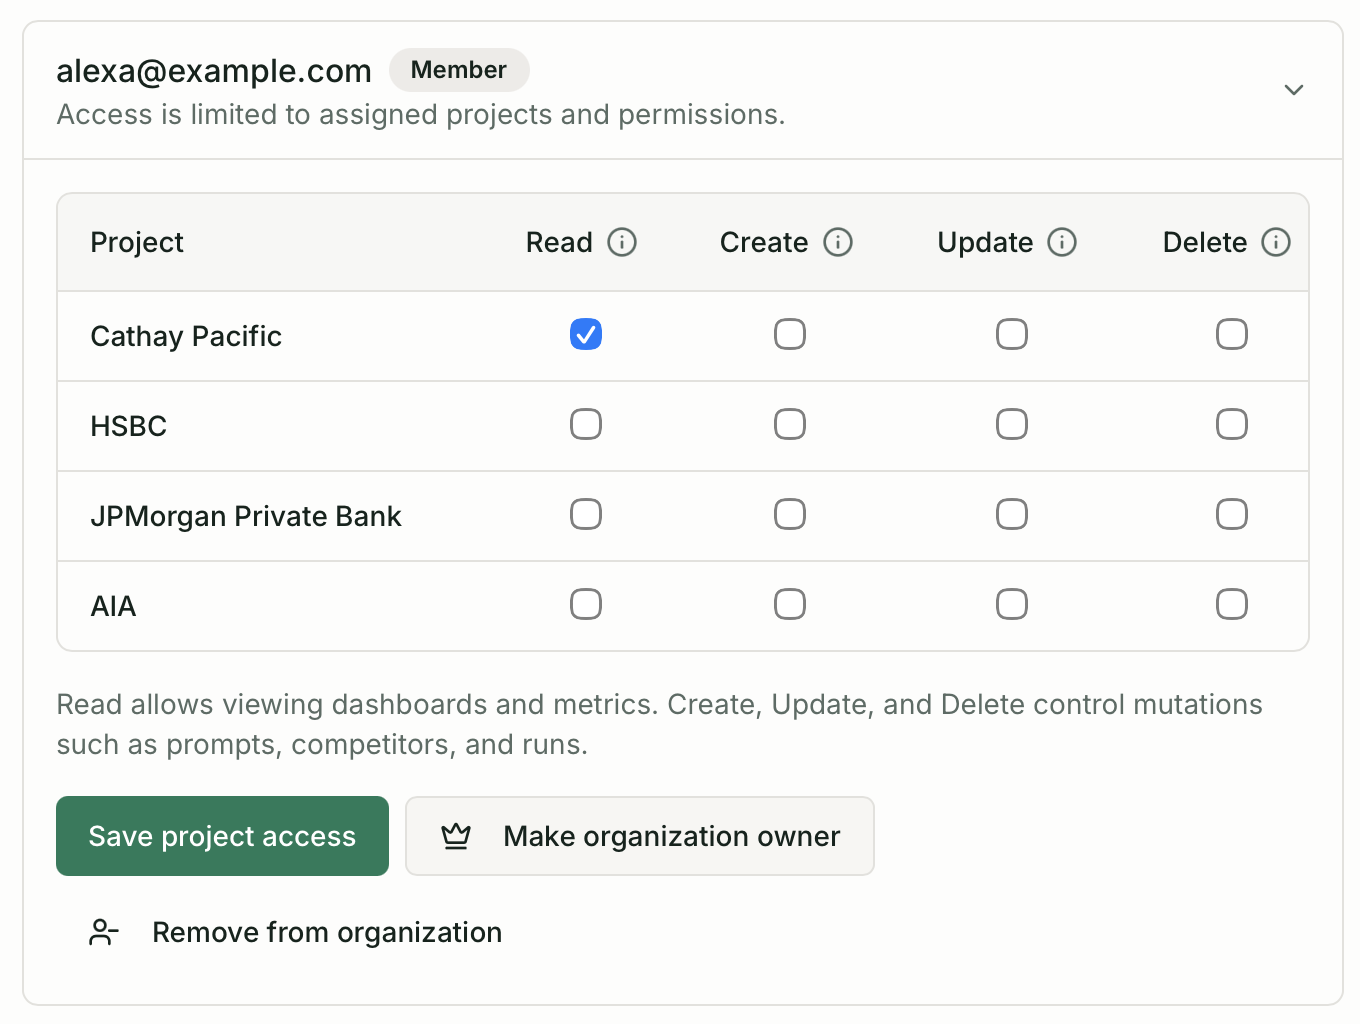
Member permissions row expanded showing the new client project with Read and Create checkboxes ticked -
Share initial access with the client (optional)
If your client wants a login to view their own data, invite them as an organization member with Read-only access to their project only. Their login will only show their project in the project switcher.
After the first check
Section titled “After the first check”Once the first scheduled check has run (or after a manual run if you need data sooner), review:
- Chats — read a few raw responses to verify the brand name is detected correctly
- Competitors — confirm competitor names are matched correctly
- Sources — identify which domains are being cited in your client’s category
Set the client’s alert threshold in Project settings so you are notified if visibility drops significantly.